How To Pick The Right Sandpaper Grit For Refinishing Hardwood Floors
Choosing The Right Grit Sequence To Refinish Your Hardwood Floors
For those of you who are DIYers looking to refinish your wood floors, it's important to know that the grit sequence of the sandpaper you're using is one of the most important aspects in floor refinishing. In our experience, we've seen plenty of DIYers mess this part up and then call us because they can't figure out what went wrong. So let's talk about the basics of the sandpaper grit and what you need to know before you turn the sander on!
Why Choosing The Proper Grit Matters
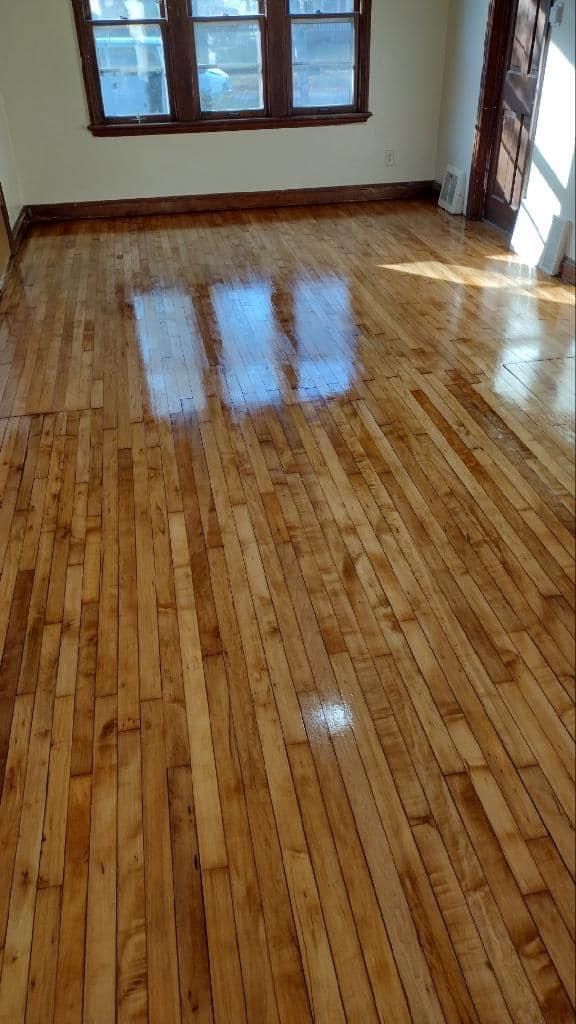
Choosing the correct grit type means that you'll actually have smooth surface on your floors that's ready to be either stained or refinished. The correct grit sequence will ensure you have no scuffs, marks, dents, or sander grit lines. This is what you want so after the floors are finished, they look silky smooth.
This should be pretty obvious, but let's talk about what happens if you DON'T choose the correct grit sequence in your floor refinishing.
When using a floor sander, you know it's big and heavy right?! And you know it's designed to remove layers of the floor so you can refinish it right? The wrong grit can leave sander lines all throughout the floors. This looks extremely ugly but often doesn't show up until you start putting the polyurethane down. By that point, you almost need to start the whole process over. And you know you only have so many layers on the floors to sand so mistakes can be costly down the road.
Aim For A Course-To- Fine Grit Sequence
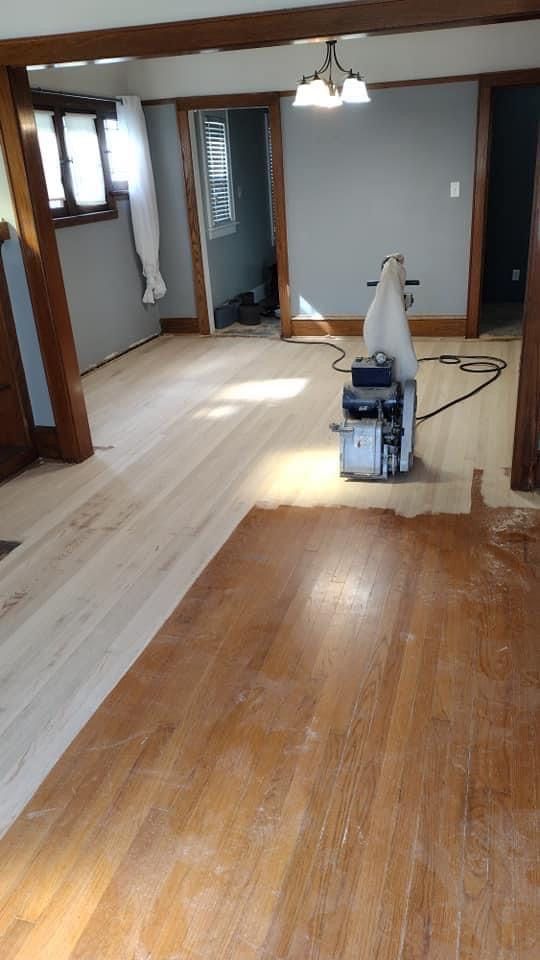
The overall goal of choosing the right grit is to start with a course grit and transition to finer grit sandpaper after each round of sanding. We recommend at least 3 rounds (or passes) of sanding on the floor. You begin with a course level grit. The second pass is a medium level grit and the third pass is the fine grit. If your floors are really scuffed or messed up, you might add an additional pass at the beginning with an even courser grit sandpaper.
For example, if hardwood floors have been buried underneath carpet for years and have an adhesive stuck to them from the carpet, you likely will want 4+ passes with the sander. The first two are course grit and then you continue with medium and fine.

Common Sandpaper Grits For Refinishing
- 12 - 16 Grit : Very Course
- 20 - 24 Grit : Very Course
- 36 Grit : Course
- 60 Grit : Medium
- 80 Grit : Fine
- 100+ Grit : Very Fine
12 Grit: This grit is usually only available for edgers anyway. It's for the harshest and most beat up floors that often include heavy adhesives or multiple coats of paint or stuck under thick carpet for years. This digs through all the clutter to get to the actual wood.
16 Grit: This is usually the starting grit for floors with heavy shellac finishes or just a small amount of paint on them (often only one layer). If you happen to have hard maple wood floors, this grit will also be your starting point in most instances.
20-24 Grit: If your floors need a decent amount of flattening, this is the range you might start in, unless you've already used a courser grit and see obvious sander streaks in the floors. The 24 grit is usually a good starting grit for wood floors that haven't been refinishing in 25-30 years.
36 Grit: If you have newly installed wood floors that haven't been sealed yet, this is likely where you will start the sanding grit at. This grit will help remove any over wood from the installation process. This could sometimes be used if you have a very thin layer of finish left on the floors. After this round, there should be no poly or finish left on the floors.
60 Grit: This is NOT your starting grit. Ever. This grit does not remove much wood from the floors, it's mostly intended to remove any scratches from the previous 36-grit sanding process. Again, do not start with this grit sandpaper on your wood floors.
80 Grit: This simply takes out the scratches from the 60 grit pass. In most homes, this is the final pass to get the floors ready for finishing.
100+ Grit: If you plan to stain your wood floors, you might need a 100 grit pass also. Or if you have birch or maple floors, you likely will need this 100 grit pass to get those harder woods perfectly smooth. There are a few grits larger than 100 and you can use them if you notice marks or scratches leftover from the 100 grit pass. They are likely overkill in any other circumstance though.
The Most Common Grit Sequence For Refinishing
The most common grit sequence is a 3-pass sanding with 36 - 60 - 80 grit. To be clear, this is not usually used for hard woods like maple or birch, nor is it recommended for wood floors sitting underneath carpet or that have heavy adhesives attached to it. This common sequence is floor normal use wood floors that are already finished and are just looking to refinish them and bring them back to life.
If You're Unsure, Start Here
If you aren't sure where to start with sanding your floors to refinish them, start with a small handheld sander using 36 grit sandpaper. Go to an area of the room that looks most troublesome. Sand down a 2' x 2' section in that difficult area and see what the results are. Don't be afraid to sand tough on the floors, they can take it. If you notice that there's still clear bumps or that all the adhesive or paint isn't coming up, you likely need a courser grit to start. Try a 24 grit and go to a new tough spot (can be right next to it) see what happens. Since this spot is likely still quite challenging for sanding, you can be confident the other areas won't be as bad when you use the actual belt sanding machine later.
If you already have a gut feeling that your floors are going to be rough, skip the test and just start the belt sander with the 24 grit. Plan on doing 4 passes at least with 24-36-60-80 and see what they look like.
If you live in Portland and would like a professional opinion, feel free to contact us and let's talk about your floors!
Portland Hardwood Refinishing by DeBuke
Service Portland, OR & the surrounding USA cities
Call us at (503) 822-7975


